How to get smooth 3d prints (Resin)
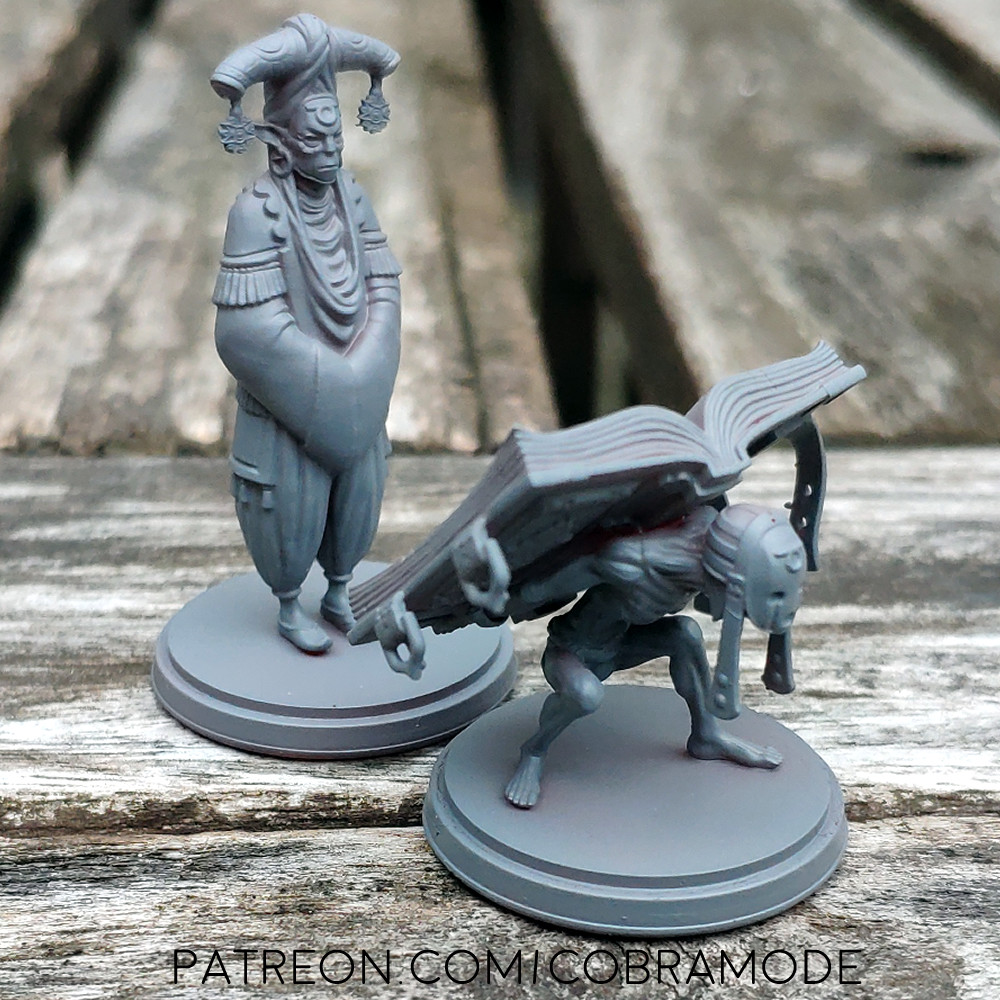
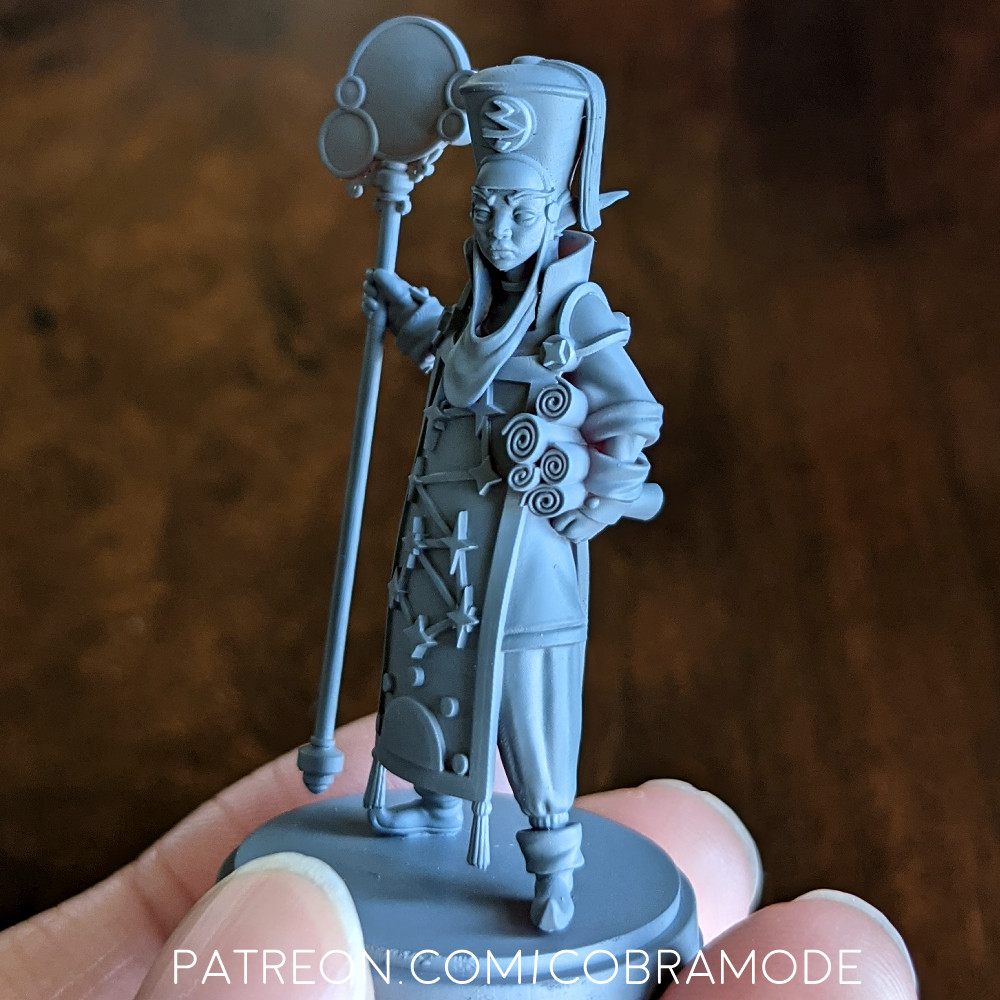
I take a lot of photos of our minis to show off the beautiful details and physicality of our models. Sometimes a 3d render just doesn’t cut it the way a real print does. A lot of people wonder how I get such super smooth prints for the pictures! Is it Photoshop? Nope!
This is a quick rundown of the steps I take to make sure the surface of my prints is nice and buttery. I’ve also included some affiliate links to the products I personally use to get these results.
Just FYI, the minis in my pics are primed, but the primer is not a filling primer. In fact, if there are any blemishes on the print, this primer tends to enhance them. I don’t like to use filling primers because they will obscure fine textures and soften any sharp details, resulting in a blobby-looking mini. Especially when photographing, this will severely affect the look of the sculpt. You ideally want to use a primer that is very thin so that you don’t cover up the beautiful features of the model. I like to use Stynlrez Grey Primer in an airbrush, thinned very heavily. I like this primer because it sticks well, goes on in ultra thin layers, and is sandable without peeling off in sheets. Sometimes you discover that you missed a support nub after you’ve primed, and nobody wants to have an obvious mark where you had to sand it down and re-prime.
If you want to know about how to remove your supports cleanly, check out my other post: Support Removal Best Practices for Delicate Prints

6 Tips for Smooth 3D Prints:
-
I use 0.02mm layer height. A lot of people are using 0.05 or 0.03mm, and some even claim that you can’t tell the difference below 0.05. But I definitely notice a difference, and you will notice it too especially when photographing. Cameras tend to enhance bumps, lumps, and layer lines (also dust). So if you plan to photograph your minis, it pays to go for the lowest layer height you can reasonably manage.
-
I use 4x Anti Aliasing. This might vary depending on your printer, but with EPAX printers, 4x AA doesn’t reduce my detail level at all. However, it significantly reduces the stepping effect of layers.
-
Dual Rails. I’m typically using an EPAX E10 or X1K for prints, which has a pseudo dual-rail which helps to stabilize z-wobble. If you’re looking to upgrade or get a new printer, I think having one with dual rails (or pseudo ones like the EPAX) goes a long way even if your screen is only 5.5″.
-
Slow Resin. One of my favorite resins is Elegoo Maroon (though these prints are using EPAX Hard/Draft Gray). The ideal resin in my opinion, is one that reduces excess light bleed, which translates to nice and crispy prints with very little underside sagging. I imagine this helps with the AA, but I don’t have hard proof of that. Most heavily pigmented resins would fulfill that description, but my personal experience is with the two listed above.
-
Warming the resin. I use 2x 8W reptile heating pads taped to the inside of my printer to keep it nice and toasty inside. This is only really relevant when it’s colder in the house, but I find keeping the resin nice and warm seems to help reduce print failures. Because they’re designed for reptiles, they can be left on for long periods of time without getting too hot to touch.
-
Calibrating your printer settings with an Ameralabs town test. I basically tell everyone to do this, because your printer/resin combo is not going to work out exactly the same as someone else’s setup. You could be in a different climate, or your printer could have some quirks, or your resin batch might be slightly different. Other peoples’ settings are a great starting point, but fine-tuning with a test print is how you really get your settings down. The page I linked has both the file and a blog post that explains how to interpret the results.
Some notes:
Points 1 and 4 will increase your print time, sometimes by a LOT. If your priority is to crank out lots of prints, this is probably not very appealing to you. But if you want to do competition painting where your photo could show layer lines, or you just really love ultra-smooth surface prints, this is a good starting point 🙂
It’s worth noting that some STL’s are not really sculpted with 3d printing in mind. They might sculpt it specifically to sell as an STL, but that doesn’t mean they test printed it to make sure that detail size is appropriate and will show up nicely. Sometimes I can tell from the render that a particular model’s texture or details won’t show up well in the printed version. It’s a good idea to look for photos of the prints.
OK, so now you’ve got some amazing prints, but how do you get the supports off them without wrecking them? Check out my next blog post to learn about Support Removal Best Practices for Delicate Prints.
And if you’re totally new to printing, make sure you read about 3D Printing Safety (Best Practices)
What are your tips for 3d printing miniatures? Leave them in the comments below!